I make these because It's custom. this entire tutorial will teach you exactly how to make signatures like I make them.
Step 1 - Programs
Blender - Free Modeling Program - Great for beginners
Cinema 4D - £550 at cheapest package
Photoshop CS6 - Cost Price: ???
Paint.net - Free 2D drawing program
MS Paint - Free.. Lawl jk dont use ms paint.
Winrar - Optional ZIP and RAR Extraction Program (free)
Get whatever the person wants ready. this takes many programs to do.
First off you will need cinema 4D. blender works fine.
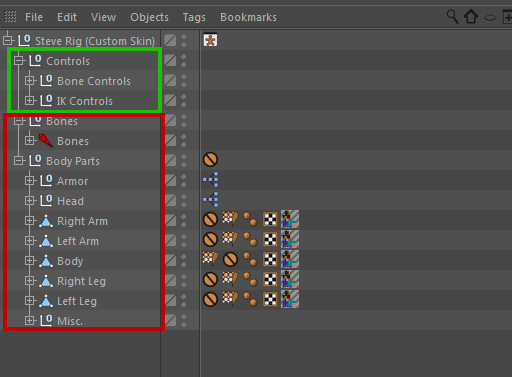
after you have the program up and ready you will then need to get a rig.
a Rig is basically a 3D model that has been hooked up to have controls over its motion or it's facials.
you can get these from everywhere. I recommend weedlions paid rig for Cinema 4D.
keep in mind that each rig is suited to a certain program. you cannot put a Cinema 4D rig into blender.
you cannot put Blender rigs into Cinema 4D.
Once you have got your rig you must insert it into cinema 4D by putting it into the content browser.
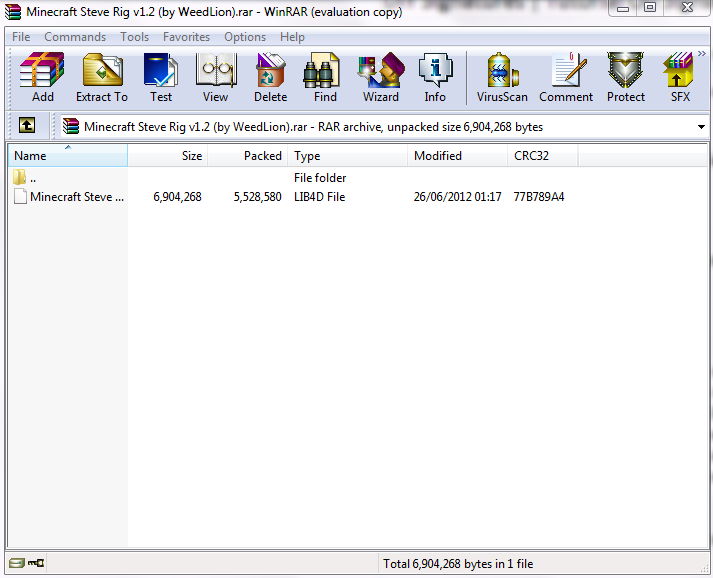
it should come in a file like this.
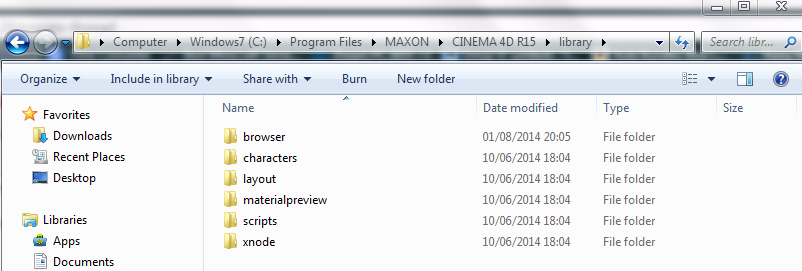
you must take that file and go into the cinema 4d program files.
Located at:
click browser. drag it in.
next we go into cinema 4D and find the content browser in the 'window' drop down menu.
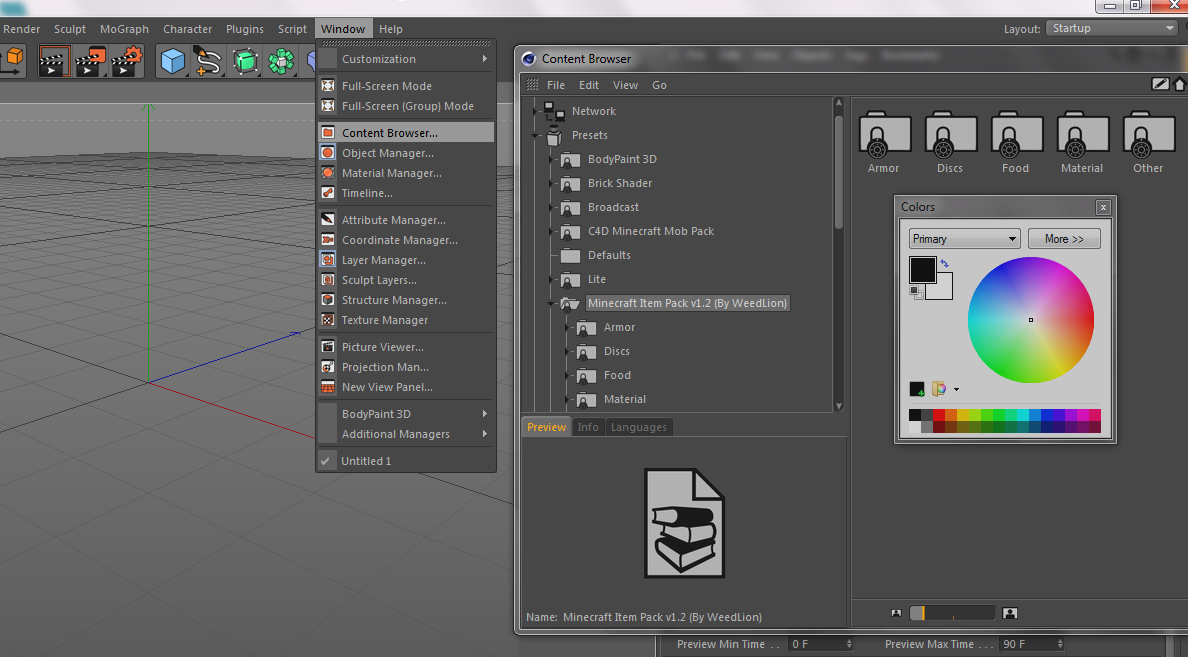
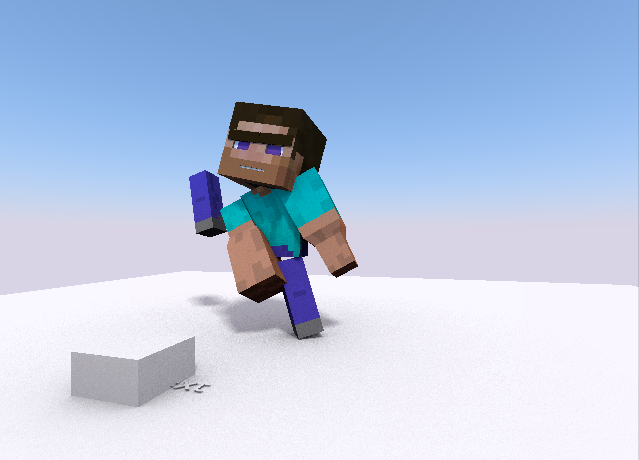
click the file in the content browser and it will show you the rig. or the 3D steve if you like ;)
Double click it and it should appear on screen. like so...
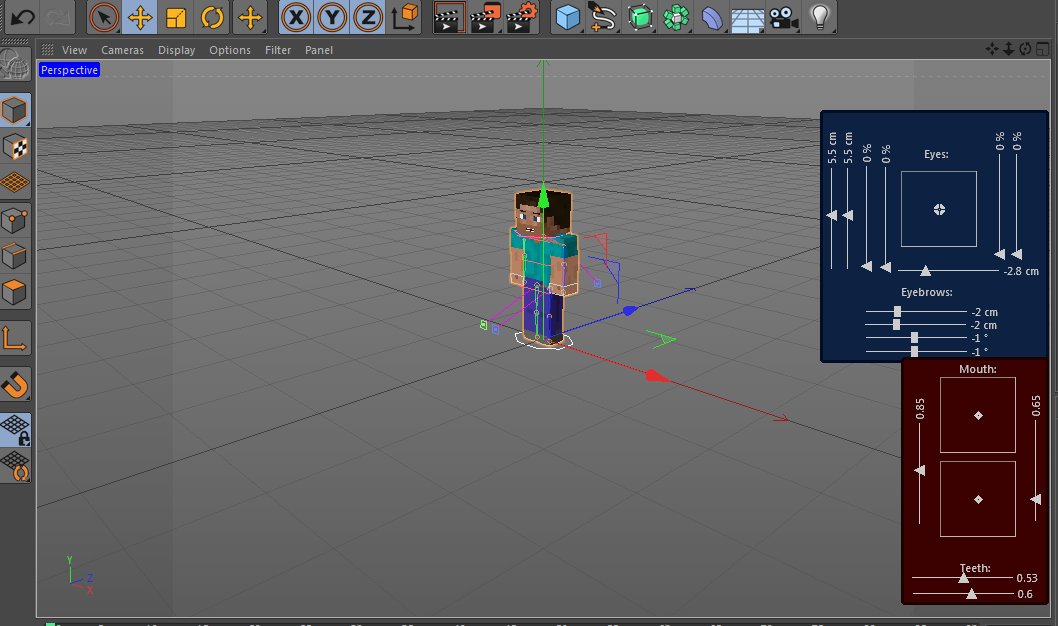
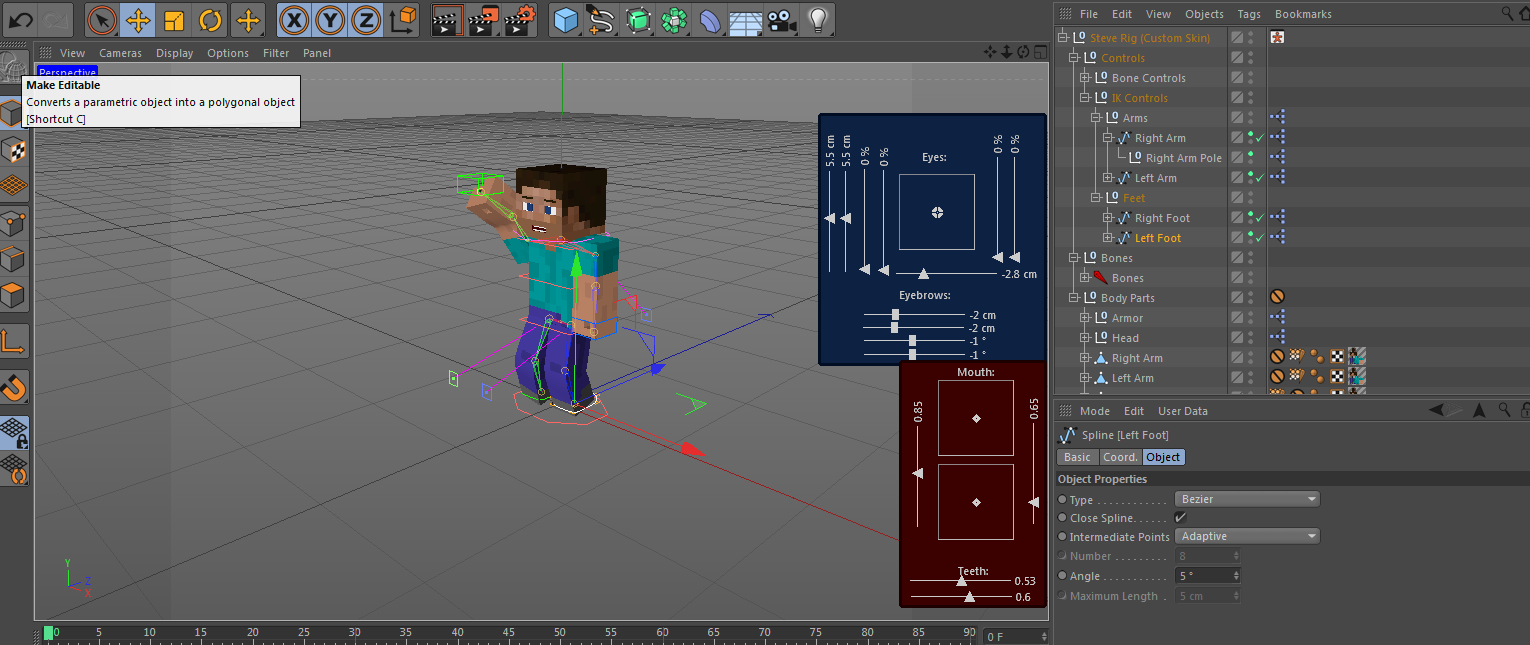
you can use the tools on the right to change with the features and you can change the skin aswell.
the IK Controls are it's bone controls and are hard to get used to but are quite simple after a while trying them out. do NOT move body parts or bones. you can open bones to fine the IK arm controls.
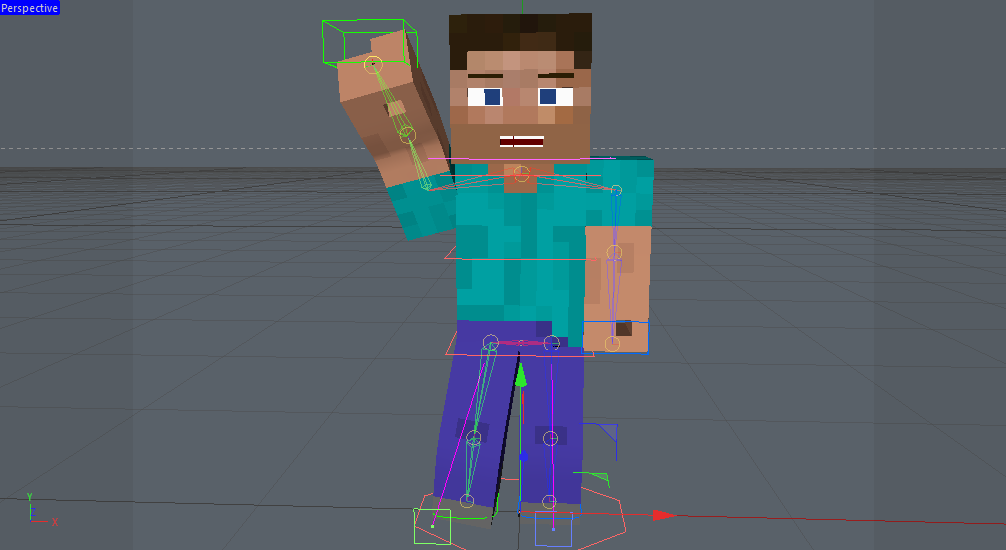
after moving into position:
we will then render. but first move the camera into the position you want it to be.
Chroma Keying the background:
Click and hold the following:

then click sky. you should now see a blue light around the character. as such:
down below the page you should see a little bar of objects including capes and stuff.
these are materials.
double click on a blank spot there and a new material should appear.
double click the new material to open and edit the material.
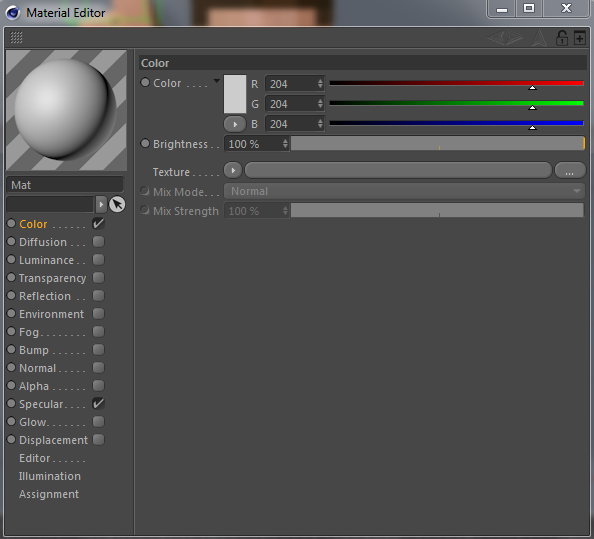
change the entire thing to bright green as it is the most inverted and brightest color compared to what steve is wearing :)
click out.
and drag it onto the background somewhere and you should see this.
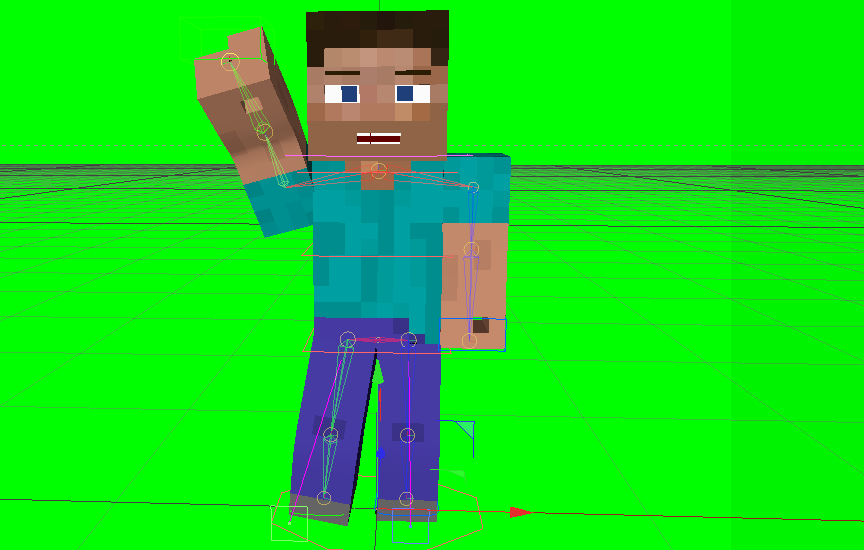
you have green screened steve.
Now click the render drop down menu and click "render to picture viewer".
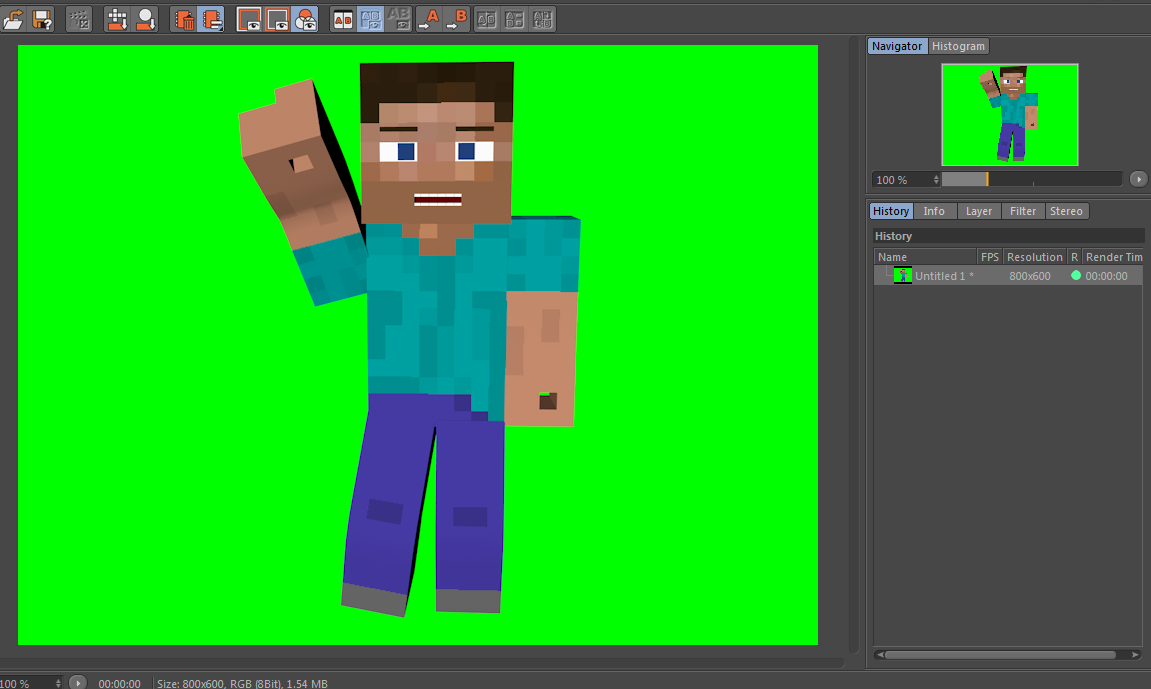
now go to the bottom right window and right click it. then Save As. then change it to PNG.
save it where ever you like.
Side-Step - Paint.net
Paint.net can be used instead of photoshop. photoshop is just more convenient.
Open Paint.net and drag the picture inside and click open picture.
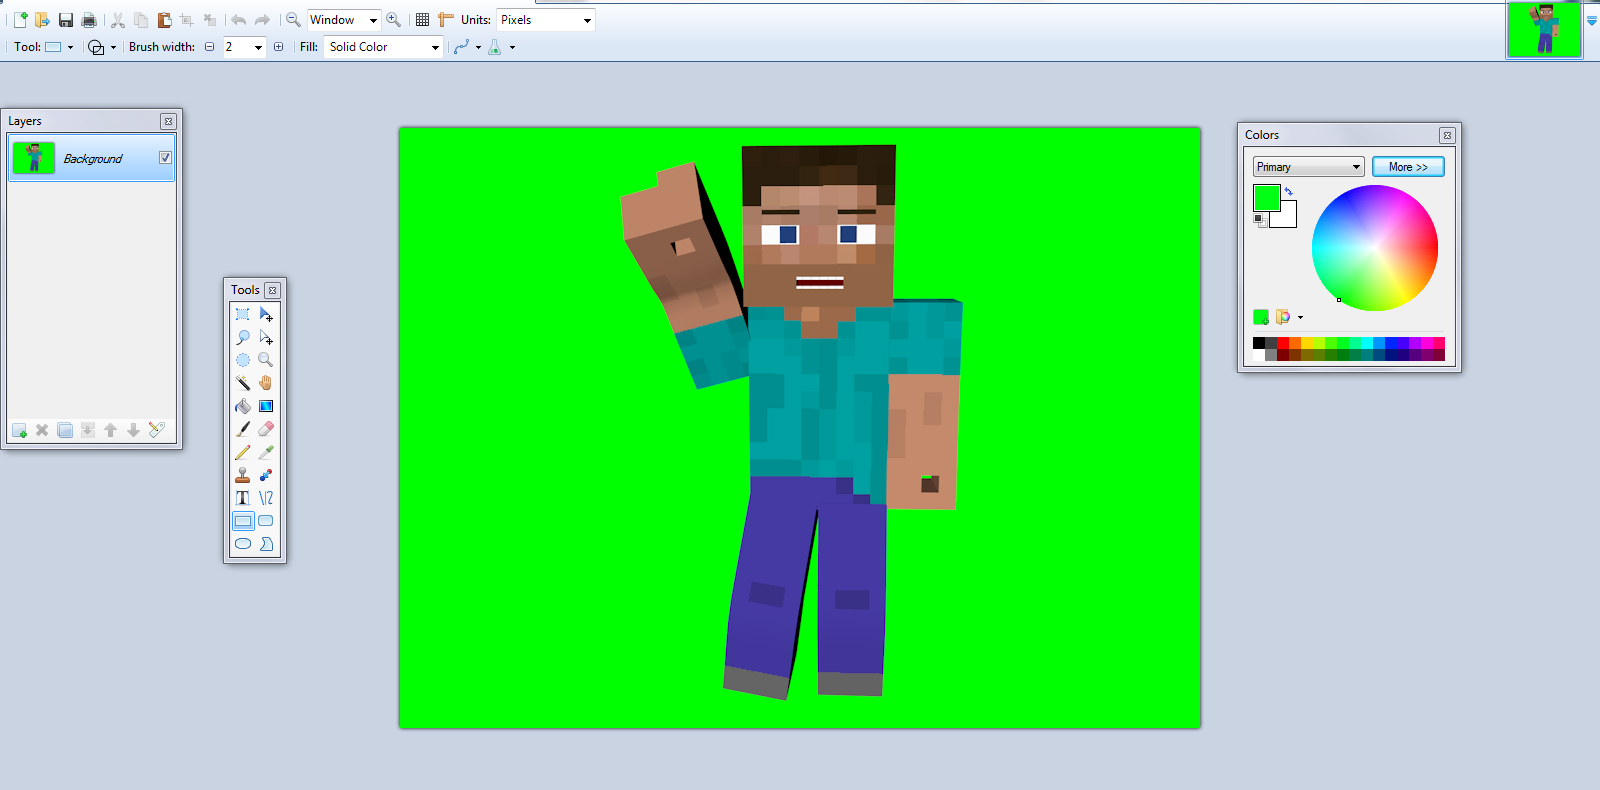
click in the tool bar. click the wand.
 the tolerance meter at the top decides how strong of a selection it makes.
set it to 50 - 57 and click the green background. continue by pressing DELETE.
it should have a transparent background.
click file and then Save.
Side-Step - Blender Text
I use blender for text because of how much simpler it is.
When in blender you should see this.
press SPACE. type "add text".
then click it.
Press R -> Y -> 9 -> 0 -> Enter (this might look weird, it is quite simple. it is setting the angle of the text)
Then press R -> x -> 9 -> 0 -> enter. it should now be facing straight forward.
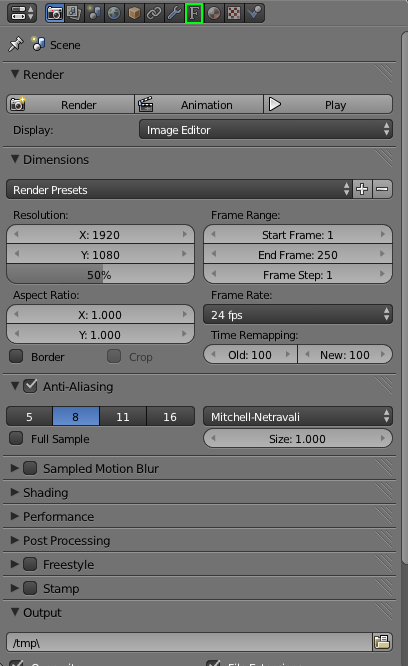
Go onto the sidebar on the right and click the F for font
next, change size to 3.338 and change extrude to 1.000
and change align to Center.
it should look nice and 3D.
back up to the bar. press the button right next to the F. it should be a red ball.
click it and press the button that reads "new".
it has created a material for the text. you can click the white box and it should give you a color palette.
I'll make mine blue. you could take this further by changing the font and adding an outline. if you want an extra tutorial for the outline please tell me xD
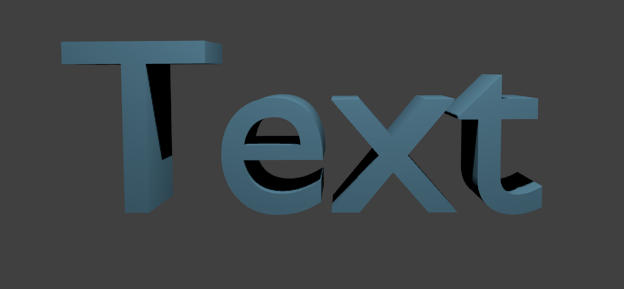
I'll now change it to a cool font and change it to read "steve".
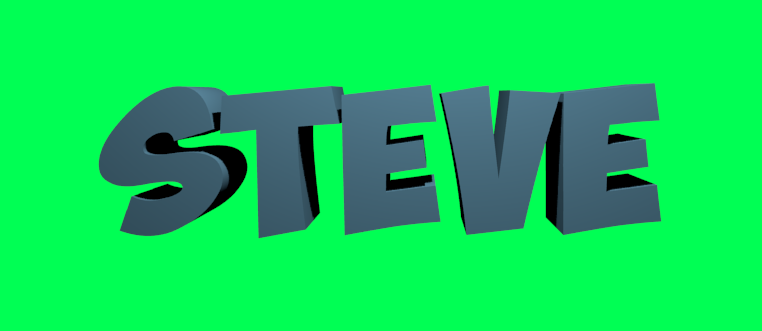
do the same green screen method from above.
now we have text and a render.
get a simple background from google images. (cause that's how cheap I am)
now we go to photoshop. you CAN use paint.net
click NEW in photoshop and set the dimensions to 450 x 79.
drag the background in first.
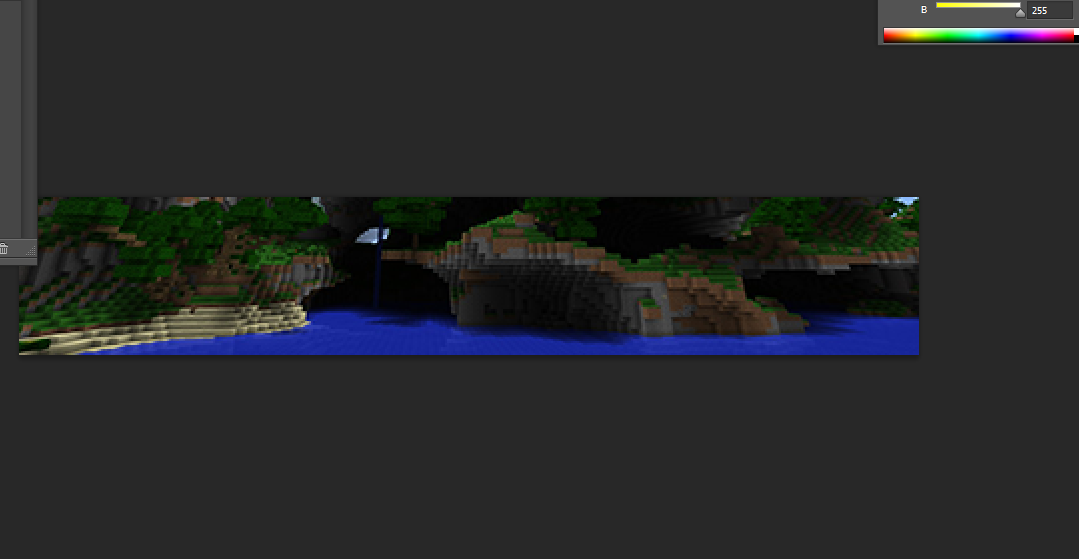
it should look like that.
the next step is easy
just add all the stuff in that we made before and size it properly
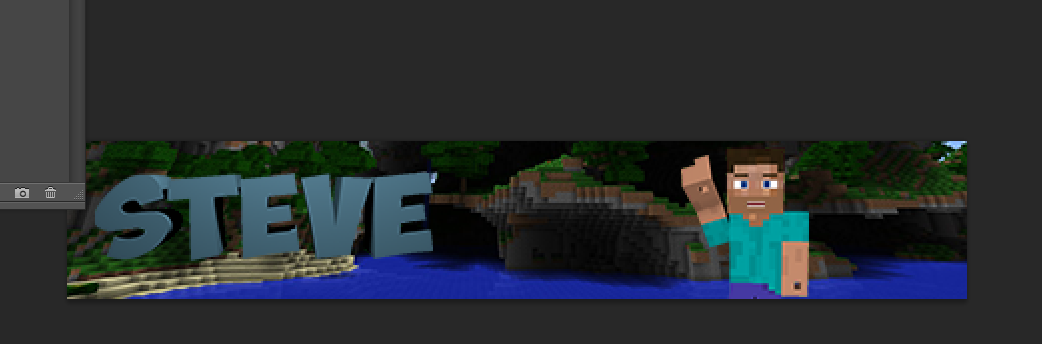
and to top it off add a lens flare (come with photoshop)
and add a smooth lighting texture.
Finished Product:

sorry if I sped through this way too fast. this took me forever to make.
even if you aren't going to attempt this tutorial a like on the post is appreciated.
this tutorial also shows how long it actually takes me and how much steps go into it.
Any help ask me below.
if you want a side tutorial on anything else they will also be granted.
Step 1 - Programs
Blender - Free Modeling Program - Great for beginners
Cinema 4D - £550 at cheapest package
Photoshop CS6 - Cost Price: ???
Paint.net - Free 2D drawing program
MS Paint - Free.. Lawl jk dont use ms paint.
Winrar - Optional ZIP and RAR Extraction Program (free)
Get whatever the person wants ready. this takes many programs to do.
First off you will need cinema 4D. blender works fine.
after you have the program up and ready you will then need to get a rig.
a Rig is basically a 3D model that has been hooked up to have controls over its motion or it's facials.
you can get these from everywhere. I recommend weedlions paid rig for Cinema 4D.
keep in mind that each rig is suited to a certain program. you cannot put a Cinema 4D rig into blender.
you cannot put Blender rigs into Cinema 4D.
Once you have got your rig you must insert it into cinema 4D by putting it into the content browser.
it should come in a file like this.
you must take that file and go into the cinema 4d program files.
Located at:
click browser. drag it in.
next we go into cinema 4D and find the content browser in the 'window' drop down menu.
click the file in the content browser and it will show you the rig. or the 3D steve if you like ;)
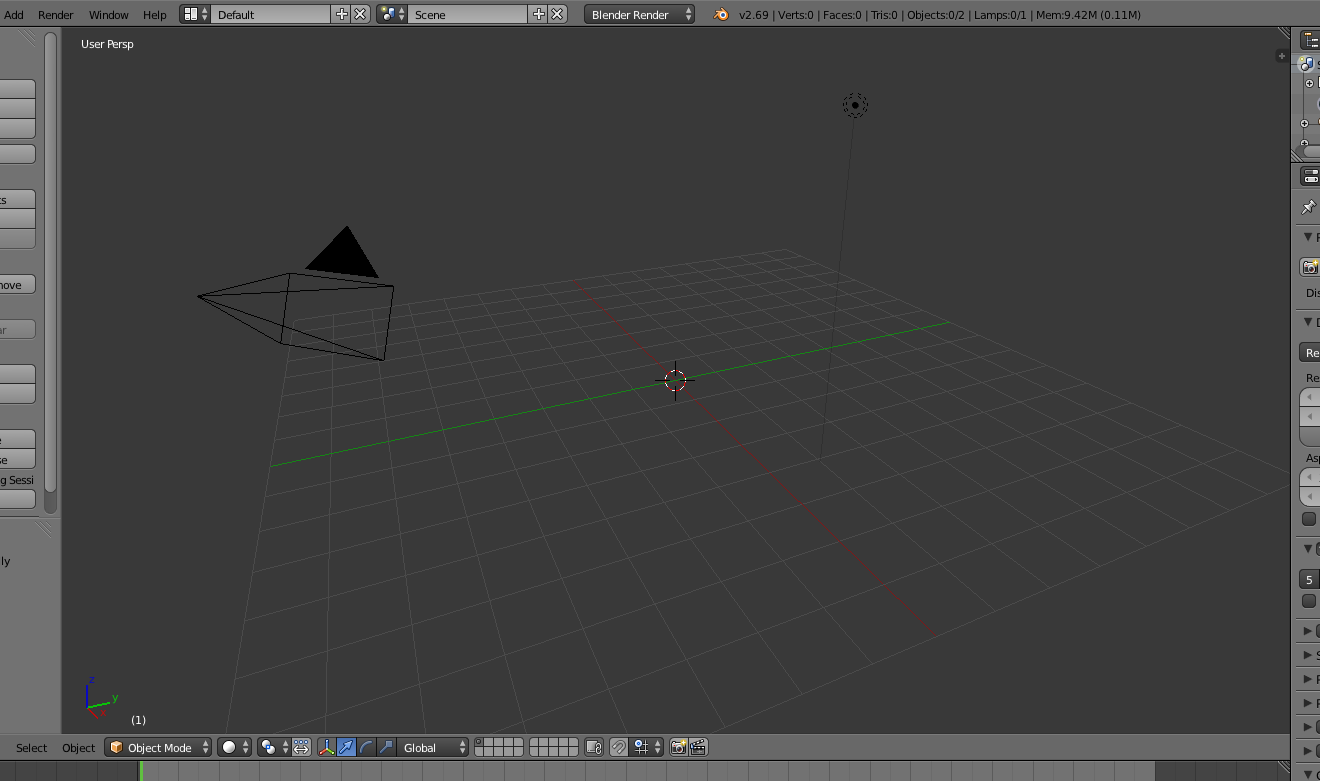
Double click it and it should appear on screen. like so...
you can use the tools on the right to change with the features and you can change the skin aswell.
the IK Controls are it's bone controls and are hard to get used to but are quite simple after a while trying them out. do NOT move body parts or bones. you can open bones to fine the IK arm controls.
after moving into position:
we will then render. but first move the camera into the position you want it to be.
Chroma Keying the background:
Click and hold the following:
then click sky. you should now see a blue light around the character. as such:
down below the page you should see a little bar of objects including capes and stuff.
these are materials.
double click on a blank spot there and a new material should appear.
double click the new material to open and edit the material.
change the entire thing to bright green as it is the most inverted and brightest color compared to what steve is wearing :)
click out.
and drag it onto the background somewhere and you should see this.
you have green screened steve.
Now click the render drop down menu and click "render to picture viewer".
now go to the bottom right window and right click it. then Save As. then change it to PNG.
save it where ever you like.
Side-Step - Paint.net
Paint.net can be used instead of photoshop. photoshop is just more convenient.
Open Paint.net and drag the picture inside and click open picture.
click in the tool bar. click the wand.
set it to 50 - 57 and click the green background. continue by pressing DELETE.
it should have a transparent background.
click file and then Save.
Side-Step - Blender Text
I use blender for text because of how much simpler it is.
When in blender you should see this.
press SPACE. type "add text".
then click it.
Press R -> Y -> 9 -> 0 -> Enter (this might look weird, it is quite simple. it is setting the angle of the text)
Then press R -> x -> 9 -> 0 -> enter. it should now be facing straight forward.
Go onto the sidebar on the right and click the F for font
next, change size to 3.338 and change extrude to 1.000
and change align to Center.
it should look nice and 3D.
back up to the bar. press the button right next to the F. it should be a red ball.
click it and press the button that reads "new".
it has created a material for the text. you can click the white box and it should give you a color palette.
I'll make mine blue. you could take this further by changing the font and adding an outline. if you want an extra tutorial for the outline please tell me xD
I'll now change it to a cool font and change it to read "steve".
do the same green screen method from above.
now we have text and a render.
get a simple background from google images. (cause that's how cheap I am)
now we go to photoshop. you CAN use paint.net
click NEW in photoshop and set the dimensions to 450 x 79.
drag the background in first.
it should look like that.
the next step is easy
just add all the stuff in that we made before and size it properly
and to top it off add a lens flare (come with photoshop)
and add a smooth lighting texture.
Finished Product:
sorry if I sped through this way too fast. this took me forever to make.
even if you aren't going to attempt this tutorial a like on the post is appreciated.
this tutorial also shows how long it actually takes me and how much steps go into it.
Any help ask me below.
if you want a side tutorial on anything else they will also be granted.